The kitchen faucet is a workhorse in your daily culinary endeavors, and ensuring its stability is crucial for an efficient and leak-free kitchen. If you’ve noticed a loose kitchen faucet or suspect a leak, it might be time to tighten the faucet nut under the sink. In this comprehensive guide, we will explore how to tighten kitchen faucet nut under sink, and we’ll introduce you to iVIGA, a brand known for quality plumbing fixtures.
Identifying the Issue
How to tighten kitchen faucet nut under sink? Before diving into the tightening process, it’s essential to identify the problem. If you’ve noticed water pooling around the base of the faucet or detect a wobbling motion, a loose nut is likely the culprit. Confirming the issue will help you target the solution accurately.
How To Tighten Kitchen Faucet Nut Under Sink: Gather the Tools and Materials
How to tighten kitchen faucet nut under sink? To tighten the kitchen faucet nut, you’ll need the following tools and materials:
- Adjustable Wrench: A versatile tool for tightening or loosening nuts and bolts.
- Plumber’s Tape: Also known as Teflon tape, it helps create a watertight seal.
- Plunger: Useful for draining excess water from the sink.
- Bucket or Towel: To catch any water that may drip during the process.
- Flashlight: A source of additional light under the sink to clearly see the nut.
Shut Off the Water Supply
How to tighten kitchen faucet nut under sink? Before starting any work under the sink, it’s crucial to turn off the water supply. Locate the shut-off valves beneath the sink and turn them clockwise until they are fully closed. This prevents any accidental water leakage during the tightening process.
Empty the Sink Cabinet
Clear the space under the sink by removing any stored items. This provides easy access to the faucet and the nut that needs tightening.
Use the Plunger
If there’s water present in the sink, use a plunger to push it down the drain. This minimizes the risk of water splashing when you loosen the connections.
Locate the Nut
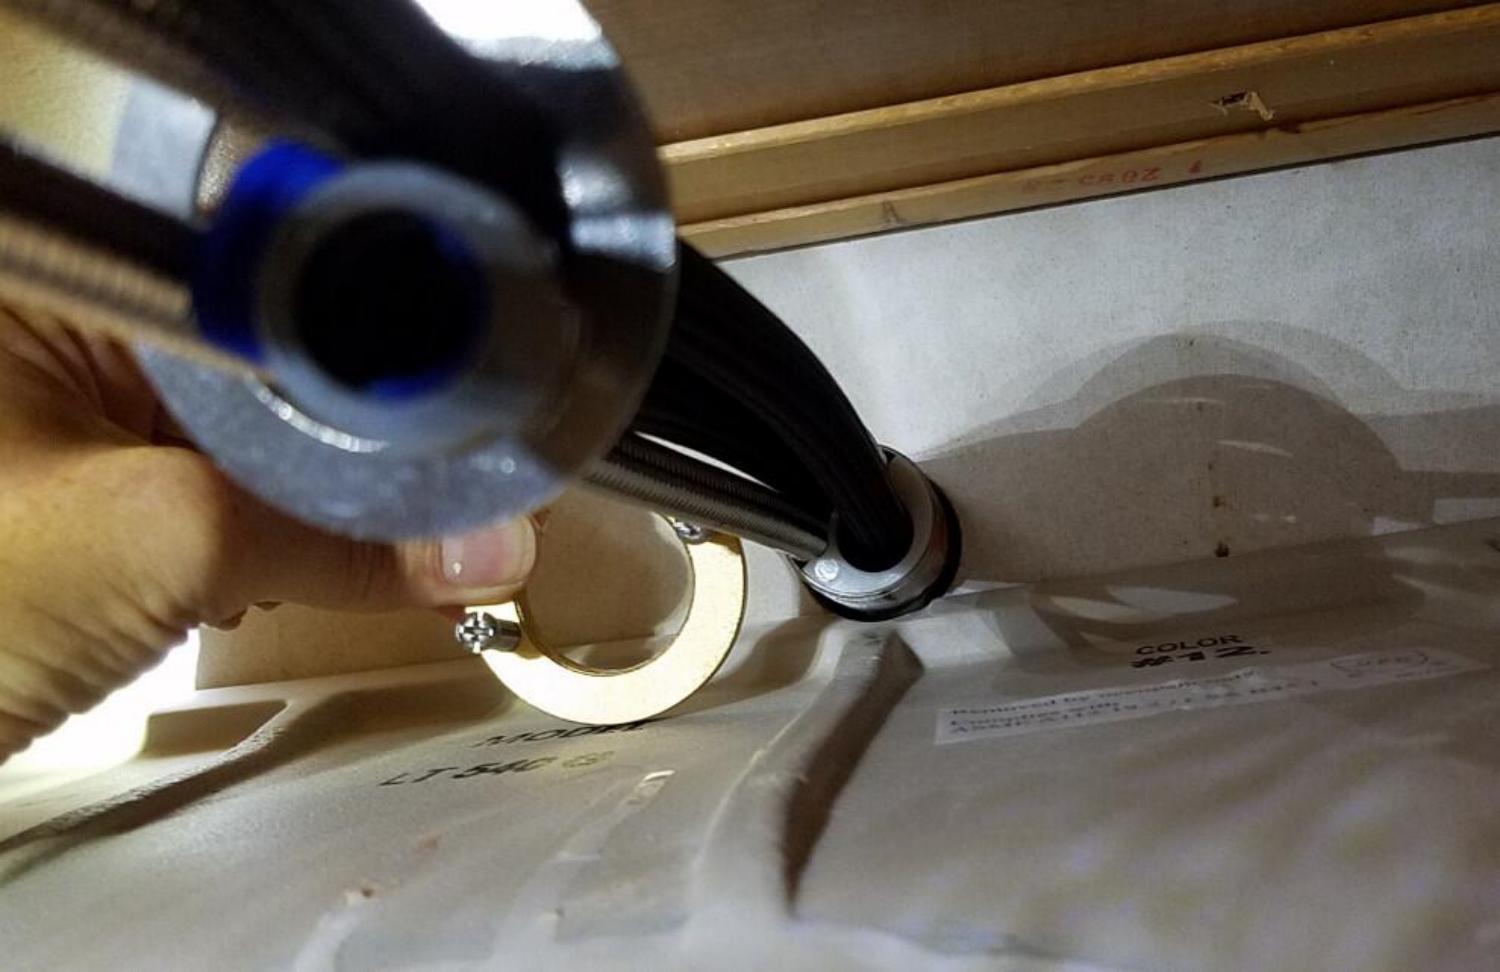
With a flashlight, locate the nut securing the kitchen faucet. This nut is typically situated on the shank of the faucet beneath the sink.
Use the Adjustable Wrench
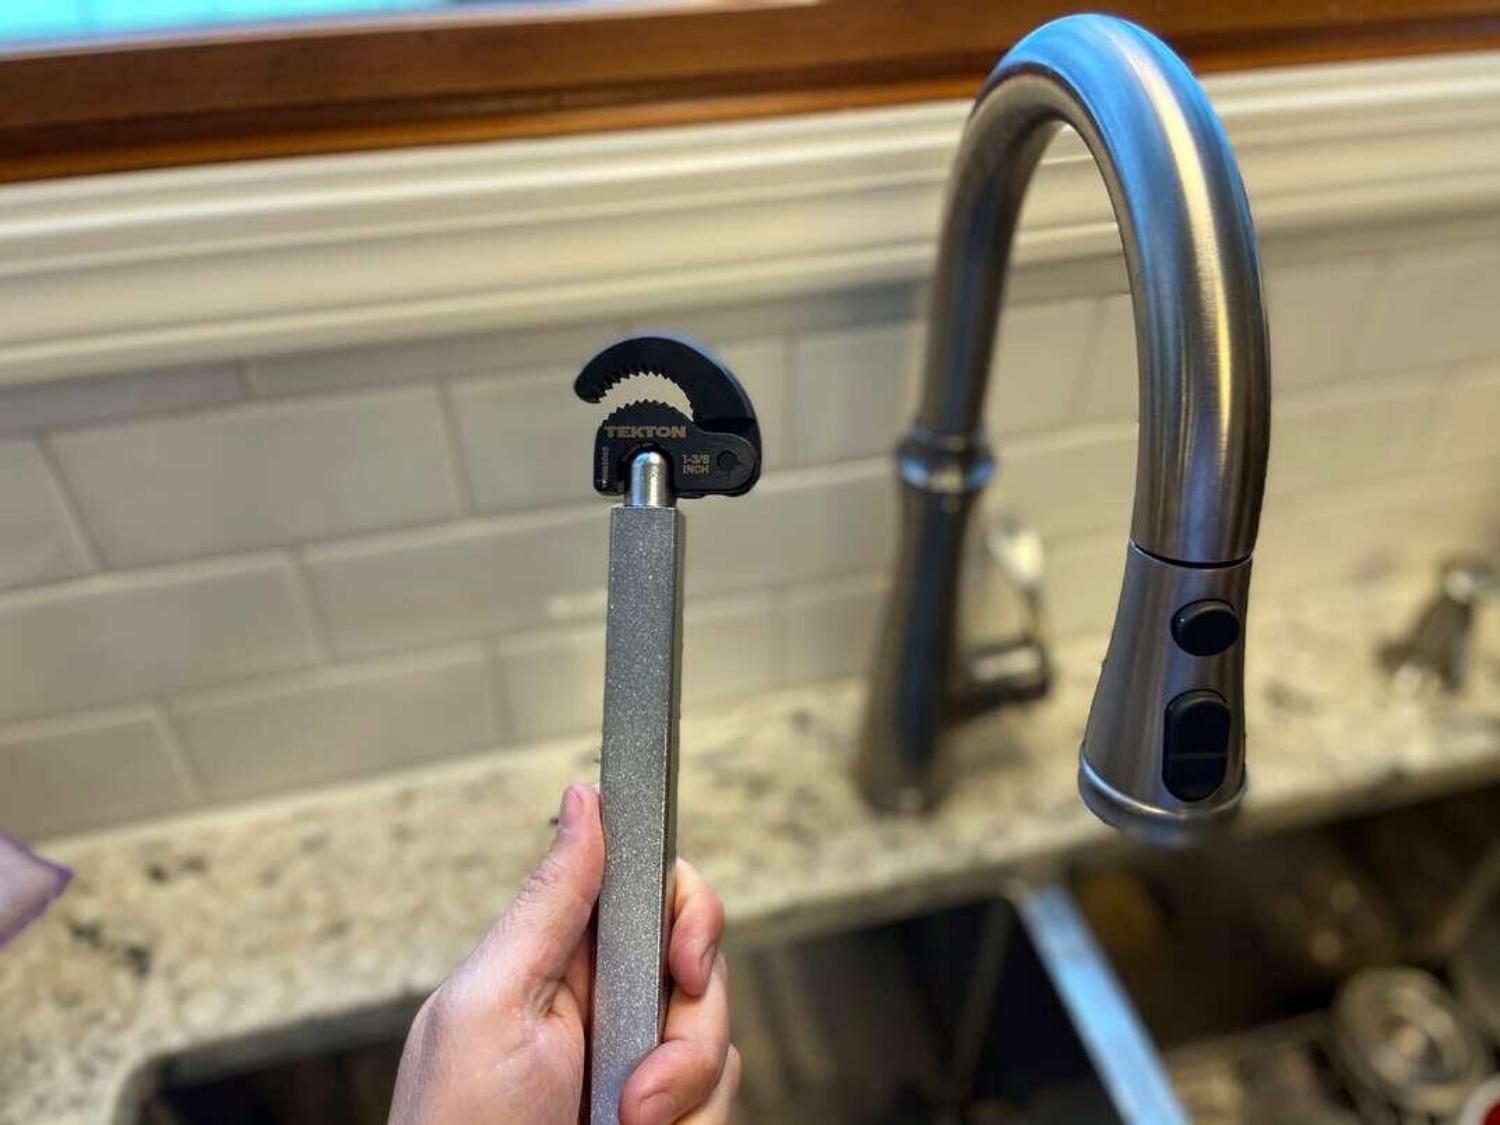
How to tighten kitchen faucet nut under sink? Place an adjustable wrench on the nut and turn it clockwise to tighten. Ensure a firm grip on the nut to avoid slipping and causing damage. If the nut is too tight, you may need to use penetrating oil to loosen it before tightening.
Check for Stability
After tightening the nut, check the stability of the faucet. Try wiggling it gently to ensure that it’s securely in place. If there’s no movement, you’ve successfully tightened the kitchen faucet nut.
Apply Plumber’s Tape (Optional)
To enhance the seal and prevent potential leaks, consider applying plumber’s tape to the threads of the faucet shank before tightening the nut. This creates an additional barrier against water intrusion.
Turn On the Water Supply
How to tighten kitchen faucet nut under sink? Once you’ve confirmed the stability of the faucet, turn the water supply back on by opening the shut-off valves beneath the sink. Check for any leaks around the faucet, and address them promptly if they occur.

Introducing iVIGA Plumbing Fixtures
How to tighten kitchen faucet nut under sink? Now that you’ve mastered the art of tightening the kitchen faucet nut, it’s worth considering the quality and durability of the fixtures you’re working with. iVIGA is a reputable brand known for its commitment to excellence in plumbing fixtures.
iVIGA’s Quality Assurance
How to tighten kitchen faucet nut under sink? iVIGA products, including kitchen faucets, are crafted with precision and durability in mind. Their faucets feature robust construction, utilizing high-quality materials such as stainless steel and brass for lasting performance. The brand emphasizes rigorous testing to ensure that their fixtures meet and exceed industry standards.
Stylish Designs
Beyond functionality, iVIGA places a strong emphasis on design. Their kitchen faucets come in a variety of styles, finishes, and features to complement different kitchen aesthetics. Whether you prefer a modern, sleek look or a more classic design, iVIGA offers a range of options to suit your taste.
Easy Installation
iVIGA understands the importance of user-friendly installation. Their faucets are designed with easy installation in mind, often featuring straightforward mechanisms that simplify the setup process. This ease of installation not only benefits professionals but also empowers homeowners tackling DIY projects.
Long-Term Reliability
Investing in quality plumbing fixtures like iVIGA ensures long-term reliability. The materials and craftsmanship used in iVIGA products contribute to their longevity, reducing the frequency of maintenance and replacements.

Conclusion
How to tighten kitchen faucet nut under sink? Tightening the kitchen supply line. Reassemble the faucet handle and check for leaks once again. Plumber’s tape helps create a watertight seal, ensuring no further leakage. Faucet nut under the sink is a simple DIY task that can save you from potential water damage and inconvenience. By following the step-by-step guide providedConclusion: Tightening the kitchen faucet nut under the sink doesn’t require extensive plumbing knowledge or experience. By following these simple steps in this article, you can ensure a secure and leak-free connection.
Remember, regular maintenance and inspections are key to keeping your kitchen faucet in optimal working condition., you can easily fix a loose faucet, ensuring a leak-free and smoothly functioning kitchen faucet. Remember to take necessary safety precautions, such as turning off the water supply before starting, and always check for leaks after completing the tightening process. With a properly tightened faucet nut, you can enjoy hassle-free and efficient use of your kitchen sink for years to come.
 iVIGA Faucet Online Shop

