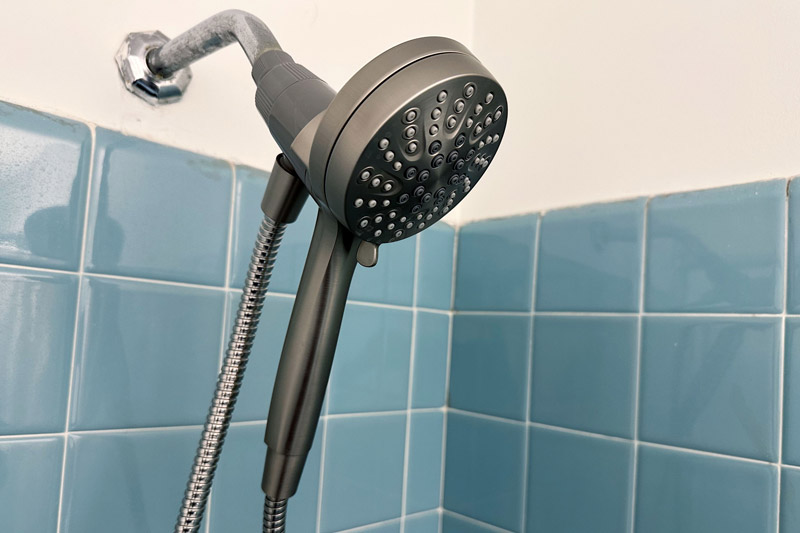
A shower head is one of the most essential components of your bathroom, delivering water efficiently for your daily shower routine. Over time, however, it can accumulate hard water deposits, mineral build-up, and bacteria, leading to reduced water pressure, uneven spray, or even discoloration. Regular cleaning and maintenance not only ensure optimal performance but also extend the life of your shower head. In this comprehensive guide, we’ll explore how to maintain and clean your shower head effectively.
Why Clean Your Shower Head?
Before diving into the cleaning process, it’s important to understand why regular maintenance is crucial:
- Improved Water Flow: Mineral build-up and debris can clog the nozzles, reducing water pressure and flow.
- Enhanced Hygiene: Shower heads can harbor bacteria and mold, which could potentially impact your health.
- Prolonged Longevity: Routine cleaning prevents wear and tear, extending the lifespan of your shower head.
- Better Aesthetic Appeal: Cleaning keeps your shower head looking polished and shiny, adding to the overall appearance of your bathroom.
Signs Your Shower Head Needs Cleaning
Not sure if it’s time to clean your shower head? Look out for these signs:
- Decreased water pressure.
- Water sprays unevenly or in odd directions.
- Discolored or stained shower head surface.
- Presence of white or green mineral deposits around the nozzles.
- Unpleasant odors when the shower is in use.
Tools and Materials Needed
Here’s what you’ll need to clean your shower head:
- White vinegar (an effective natural cleaner).
- Baking soda (optional, for extra cleaning power).
- A plastic bag or ziplock bag.
- A rubber band or twist tie.
- A toothbrush or soft cleaning brush.
- A needle or safety pin (for unclogging nozzles).
- Soft cloth or sponge.
Step-by-Step Guide to Clean Your Shower Head
1. Inspect the Shower Head
Begin by examining your shower head to assess the extent of the build-up. Determine whether the problem lies in clogged nozzles or mineral deposits around the surface. This will help you choose the right cleaning method.
2. Cleaning Without Removing the Shower Head
If your shower head is fixed and cannot be removed, you can still clean it effectively using a vinegar soak.
- Step 1: Fill a plastic bag with white vinegar. Make sure there’s enough vinegar to fully submerge the shower head.
- Step 2: Place the bag over the shower head, ensuring it covers all the nozzles. Secure it tightly using a rubber band or twist tie.
- Step 3: Let it soak for at least 1-2 hours. For heavy build-up, leave it overnight.
- Step 4: After soaking, remove the bag and run hot water through the shower head to flush out loosened debris.
- Step 5: Use a toothbrush to scrub any remaining deposits from the nozzles or surface.
3. Cleaning a Detachable Shower Head
For a deeper clean, remove the shower head from the arm if it’s detachable.
- Step 1: Unscrew the shower head carefully, using an adjustable wrench if necessary. Be sure to protect the finish by wrapping a cloth around the connection point.
- Step 2: Submerge the entire shower head in a bowl or bucket of white vinegar. Allow it to soak for 1-2 hours, or longer for severe build-up.
- Step 3: After soaking, rinse the shower head with warm water and scrub it gently with a toothbrush to remove any residue.
- Step 4: Use a needle or safety pin to clear any clogged nozzles individually.
- Step 5: Rinse thoroughly and reattach the shower head to the arm.
4. Deep Cleaning with Baking Soda
For an even more thorough clean, combine baking soda with vinegar:
- Step 1: Create a paste by mixing 1 tablespoon of baking soda with a few drops of water.
- Step 2: Apply the paste to the surface of the shower head and nozzles.
- Step 3: Pour vinegar into a bowl and submerge the shower head. The reaction between vinegar and baking soda will help dissolve tough deposits.
- Step 4: Follow the steps outlined above to scrub, rinse, and reattach the shower head.
5. Polish the Shower Head
After cleaning, dry the shower head with a soft cloth or towel. For a polished finish, you can use a small amount of baby oil or stainless-steel cleaner, depending on the material of your shower head.
Routine Maintenance Tips
- Wipe Down After Every Shower: Use a soft cloth to remove water droplets from the shower head to prevent mineral deposits from forming.
- Use a Water Softener: If you live in an area with hard water, consider installing a water softener to reduce mineral build-up.
- Clean Monthly: Regularly clean your shower head every month to prevent excessive accumulation of deposits and bacteria.
- Check for Leaks: During cleaning, inspect the shower head for leaks or worn-out washers. Replace any damaged parts to maintain efficiency.
- Use Vinegar Spray: Spray a solution of vinegar and water on the shower head weekly to prevent build-up.
Additional Considerations
- When to Replace Your Shower Head: If cleaning no longer improves performance or if the shower head is cracked, discolored, or outdated, it might be time to replace it.
- Choosing the Right Shower Head: When replacing your shower head, consider options like rain shower heads, handheld models, or water-saving designs to suit your needs and preferences.
Conclusion
Maintaining and cleaning your shower head is a simple task that can make a significant difference in your bathroom’s functionality and hygiene. Regular upkeep ensures that your shower head delivers optimal water pressure, stays free of bacteria, and maintains its aesthetic appeal. By following the steps and tips outlined in this guide, you can keep your shower head in top condition for years to come. Invest a little time in routine maintenance, and you’ll enjoy better showers and fewer repairs in the long run.
 iVIGA Faucet Online Shop

