How to fix a leaky sprayer on kitchen faucet? A leaky sprayer on your kitchen faucet can be both annoying and wasteful. The constant drip not only disrupts your kitchen’s tranquility but also leads to water wastage and potentially higher water bills. Fortunately, fixing a leaky sprayer is a manageable DIY task that can save you money and preserve your kitchen’s peace. In this comprehensive guide, we will explore the steps to address this issue and introduce the iVIGA brand, known for its innovative and reliable kitchen fixtures that combine performance and style seamlessly.
Understanding the Anatomy of Kitchen Faucet Sprayer
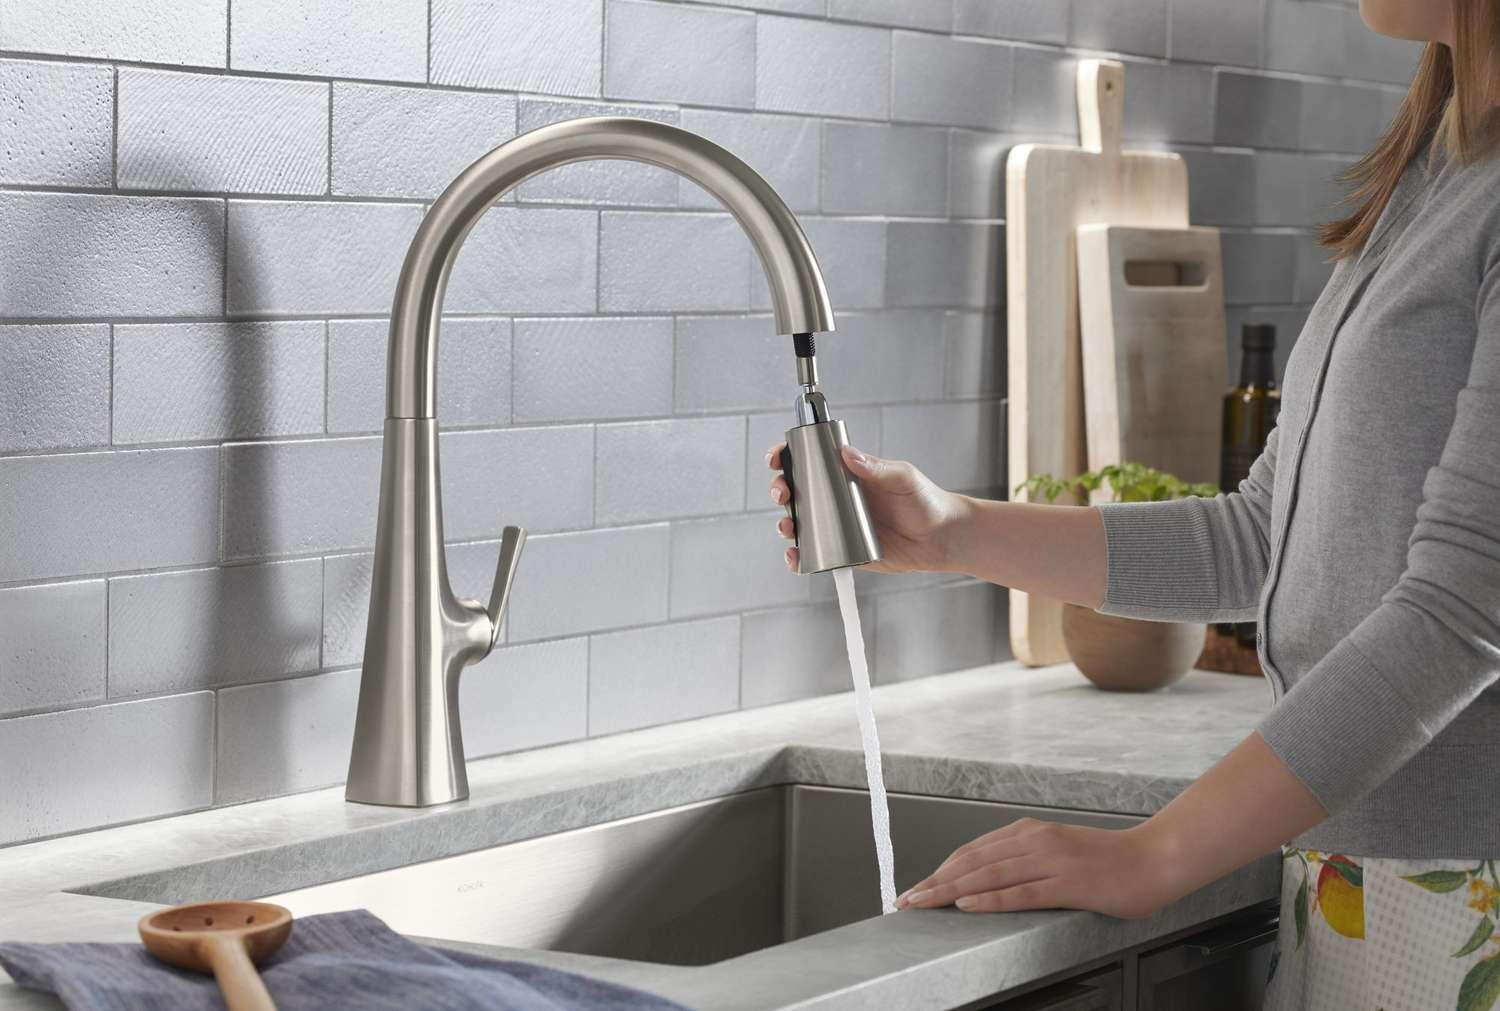
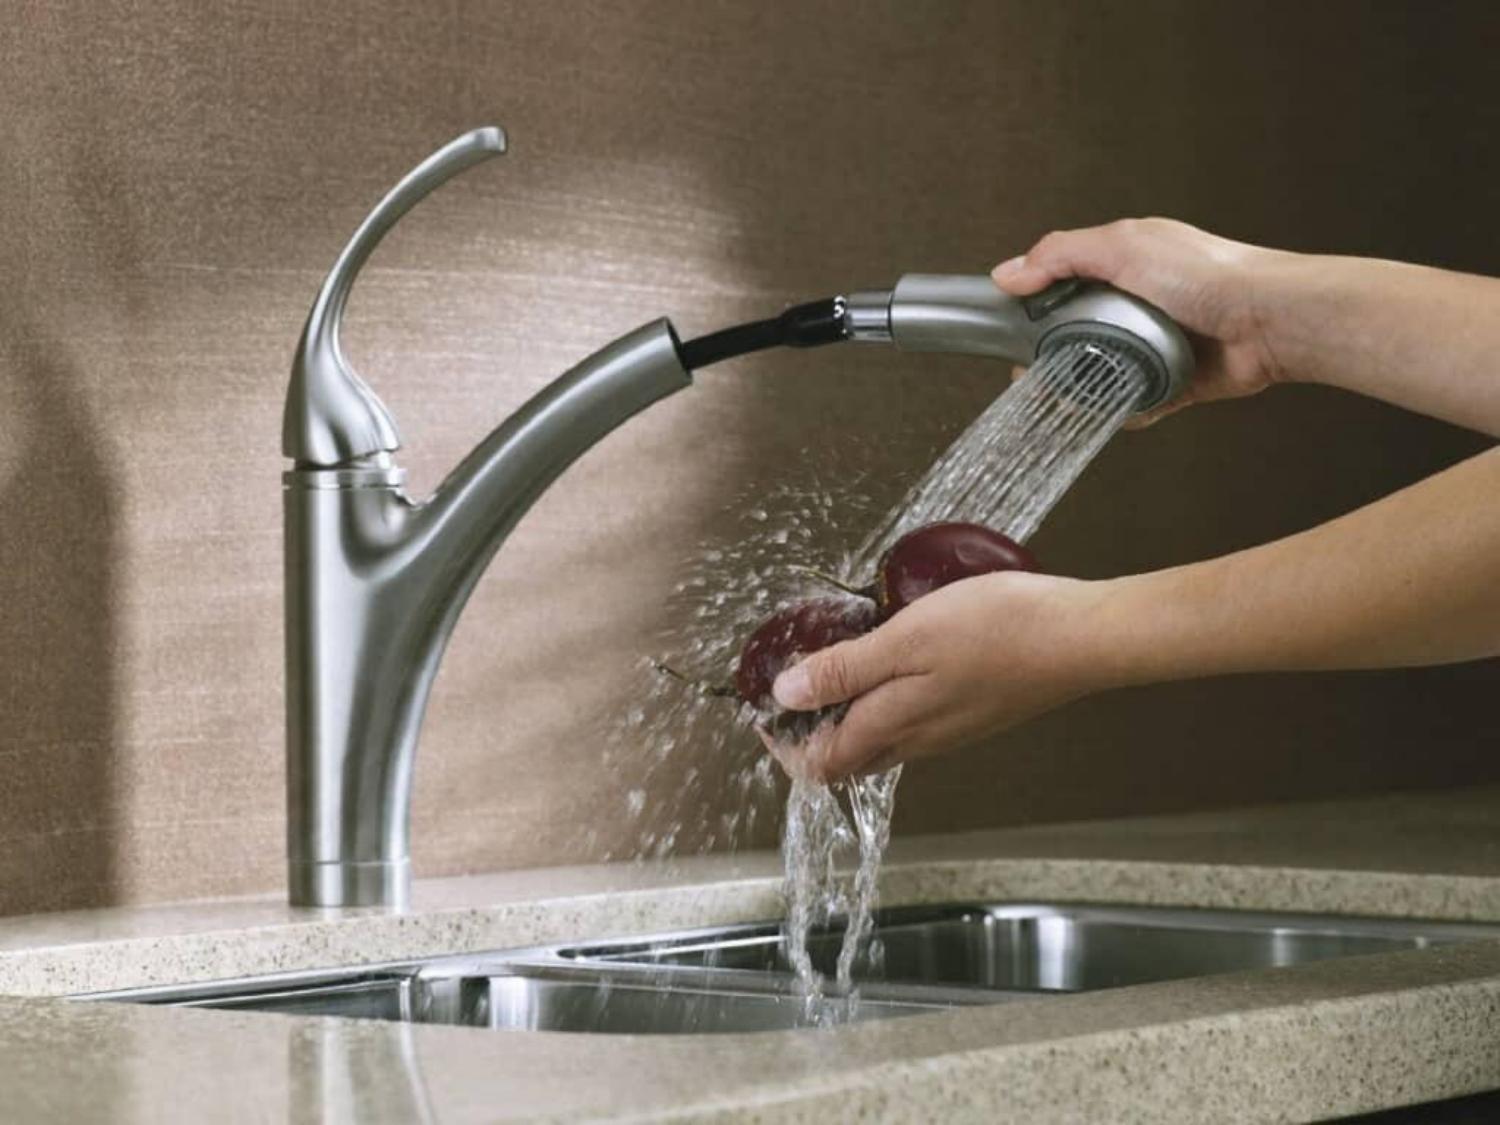
How to fix a leaky sprayer on kitchen faucet? Before diving into the repair process, it’s crucial to familiarize yourself with the components of a kitchen faucet sprayer. The key parts include:
- Spray Head: The part that you press or pull to activate the sprayer.
- Hose: The flexible tube that connects the spray head to the water supply.
- Spray Diverter: A mechanism that directs water from the main faucet to the sprayer.
- Gaskets and O-Rings: These rubber seals prevent leaks at various connection points.
Diagnosing the Leak
How to fix a leaky sprayer on kitchen faucet? Identifying the source of the leak is the first step in fixing a leaky sprayer. Leaks can occur at various points in the sprayer system. Here’s how to diagnose the issue:
- Check the Hose Connection: Inspect the connections at both ends of the hose to ensure they are tight and secure. A loose connection can lead to leaks.
- Examine the Spray Head: Look for any visible cracks, damage, or worn-out components in the spray head. Leaks may originate here.
- Inspect the Diverter: The diverter valve, often located inside the faucet body, can sometimes malfunction, causing water to leak into the sprayer when it’s not in use.

Fixing a Leaky Kitchen Faucet Sprayer
How to fix a leaky sprayer on kitchen faucet? Now that you’ve identified the source of the leak, it’s time to address it. The repair process depends on the specific issue you’ve diagnosed.
Fixing a Leaky Hose Connection:
- Turn Off the Water: Before any repair, turn off the water supply to the faucet. This is typically done via shut-off valves under the sink.
- Unscrew the Hose: Carefully unscrew the hose connections at both ends— one from the sprayer and the other from the water supply. Be prepared for residual water.
- Inspect and Replace: Examine the hose for any visible damage or deterioration. If it’s worn or damaged, replace it with a new hose.
- Reconnect the Hose: Securely reconnect the hose to both the sprayer and the water supply. Hand-tighten the connections, and then give them an extra quarter-turn with pliers to ensure a snug fit.
Fixing a Leaky Spray Head:
- Turn Off the Water: As always, start by turning off the water supply to the faucet.
- Unscrew the Spray Head: Remove the spray head from the hose by unscrewing it counterclockwise. Be cautious to avoid damaging the hose or threads.
- Inspect and Clean: Examine the spray head for damage or mineral buildup. Clean it thoroughly to remove any debris or deposits that might be causing the leak.
- Replace the O-Ring: Inside the spray head, there is an O-ring that helps create a watertight seal. If this O-ring is damaged or worn, replace it with a new one of the same size.
- Reassemble the Spray Head: Once the spray head is clean and the O-ring is replaced, reattach it to the hose by screwing it on clockwise. Make sure it’s snug but avoid overtightening.
Fixing a Leaky Diverter Valve:
- Turn Off the Water: As always, start by turning off the water supply to the faucet.
- Remove the Faucet Handle: Depending on your faucet type, you’ll need to remove the handle to access the diverter valve. This usually involves removing a screw or cover cap and using a wrench or pliers.
- Access the Diverter Valve: Once the handle is removed, you should be able to access the diverter valve. It may be a cartridge, a ball, or another mechanism, depending on your faucet type.
- Inspect and Clean: Examine the diverter valve for damage or debris that might be interfering with its proper operation. Clean it carefully to ensure it moves freely.
- Replace the Valve: If the diverter valve is damaged beyond repair, you may need to replace it. Consult the manufacturer’s instructions for guidance on your specific faucet type.
- Reassemble the Faucet: Reattach the faucet handle, making sure it’s properly secured.
The iVIGA Advantage
How to fix a leaky sprayer on kitchen faucet? iVIGA is a brand known for its commitment to providing innovative and reliable kitchen fixtures. When it comes to fixing a leaky sprayer on a kitchen faucet or upgrading your kitchen fixtures, iVIGA offers a range of options that excel in both performance and aesthetics. Here are some reasons to consider iVIGA:
- Innovative Designs: iVIGA faucets are designed with innovation in mind. Their products not only function flawlessly but also enhance the aesthetics of your kitchen, offering a perfect blend of style and performance.
- Customization Options: iVIGA provides customization options for their faucets. You can tailor the faucet’s design, finish, and features to match your kitchen’s specific needs and your personal style.
- Quality Craftsmanship: iVIGA prioritizes quality, using high-grade materials and advanced manufacturing techniques to ensure the durability and longevity of their faucets.
- Water-Efficient Options: iVIGA offers a variety of water-efficient kitchen faucets, making them eco-friendly choices while maintaining performance and style.
Prevention and Maintenance
How to fix a leaky sprayer on kitchen faucet? To prevent future leaks in your kitchen faucet sprayer, consider the following:
- Regular Cleaning: Clean the spray head and aerator regularly to prevent mineral buildup, which can affect performance and cause leaks.
- Soft Water: Installing a water softener can reduce mineral deposits in your faucet, improving its longevity and efficiency.
- Timely Repairs: Address any leaks or drips as soon as you notice them to prevent further damage and water wastage.

Conclusion
How to fix a leaky sprayer on kitchen faucet? A leaky sprayer on a kitchen faucet is a common issue that, with the right guidance, can be addressed effectively. Whether the problem is with the hose connection, spray head, or diverter valve, following the appropriate steps can restore your faucet’s functionality and prevent water wastage. iVIGA, a brand renowned for its innovative and reliable kitchen fixtures, offers a wide range of options to cater to your specific needs. Whether you’re fixing a leak or upgrading your kitchen faucet, iVIGA’s products excel in both performance and style, ensuring your kitchen remains efficient, beautiful, and leak-free.
 iVIGA Faucet Online Shop
