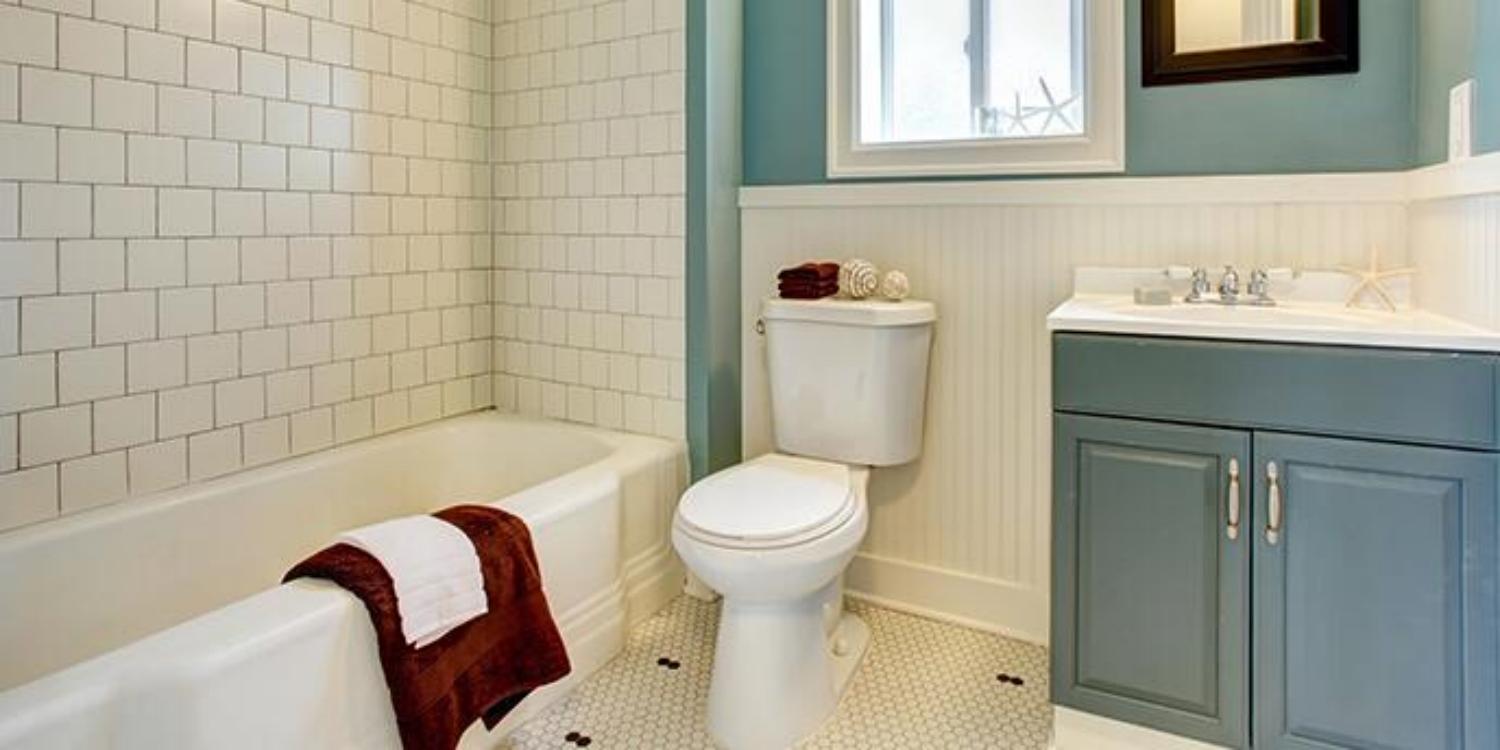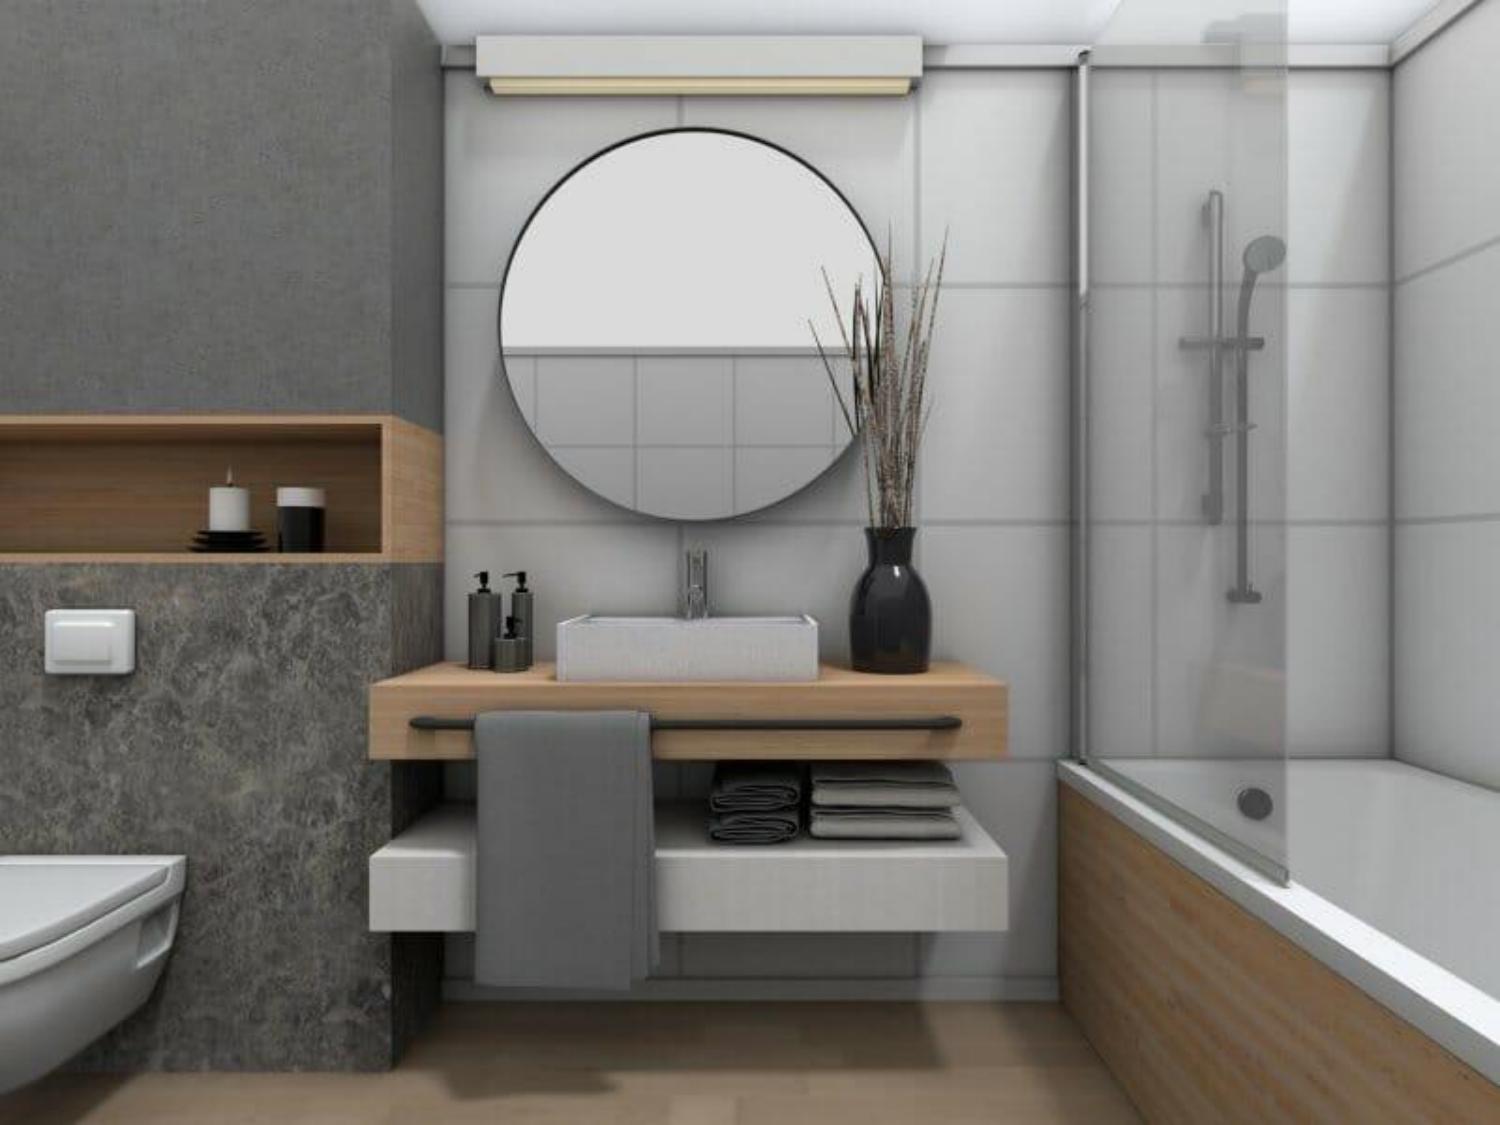
How to diy bathroom Renovation? Renovating your bathroom can be a rewarding and cost-effective project, allowing you to create a space that suits your style and needs. With the right guidance and quality products from iVIGA, you can transform your bathroom into a beautiful and functional oasis. In this comprehensive guide, we’ll take you through a step-by-step DIY bathroom renovation process while highlighting the iVIGA brand’s contribution to achieving a stunning result.
Why Choose iVIGA for Your DIY Bathroom Renovation?
How to diy bathroom Renovation? Before we dive into the renovation process, let’s explore why iVIGA is a brand worth considering for your bathroom makeover:
- Design Excellence: iVIGA offers a wide range of bathroom fixtures, including faucets, showerheads, and accessories, with contemporary and timeless designs that can elevate the aesthetic of any bathroom.
- Quality Craftsmanship: Known for their commitment to quality, iVIGA products are built to last, ensuring that your bathroom renovation investment will stand the test of time.
- Innovation and Functionality: iVIGA continually innovates its products to provide the latest in functionality and convenience. This means you can enjoy the latest features in your renovated bathroom.
- Variety of Styles: iVIGA’s extensive product catalog offers a variety of styles, finishes, and configurations to suit your design preferences, whether you prefer a classic, modern, or eclectic bathroom.
- Exceptional Customer Support: iVIGA’s customer support team is ready to assist you with any questions or concerns you may have during your renovation journey.
- Warranty Assurance: iVIGA stands behind its products with warranties, providing peace of mind and confidence in the durability and performance of their bathroom fixtures.
Now, let’s embark on your DIY bathroom renovation journey with iVIGA’s top-quality products.
Step 1: Planning Your Bathroom Renovation
Set a Budget:
How to diy bathroom Renovation? Determine how much you’re willing to spend on your bathroom renovation. This will guide your decisions on fixtures, materials, and the extent of the makeover.
Create a Design Plan:
Visualize the look and feel you want for your bathroom. Consider factors like color schemes, tile designs, and fixture styles. iVIGA offers a variety of faucet and accessory options to complement your chosen design.
Measure and Plan Layout:
Accurate measurements of your bathroom space are crucial. Plan the layout to optimize functionality and aesthetics. iVIGA’s versatile products can fit various bathroom layouts.
Step 2: Demolition and Removal
Clear the Space:
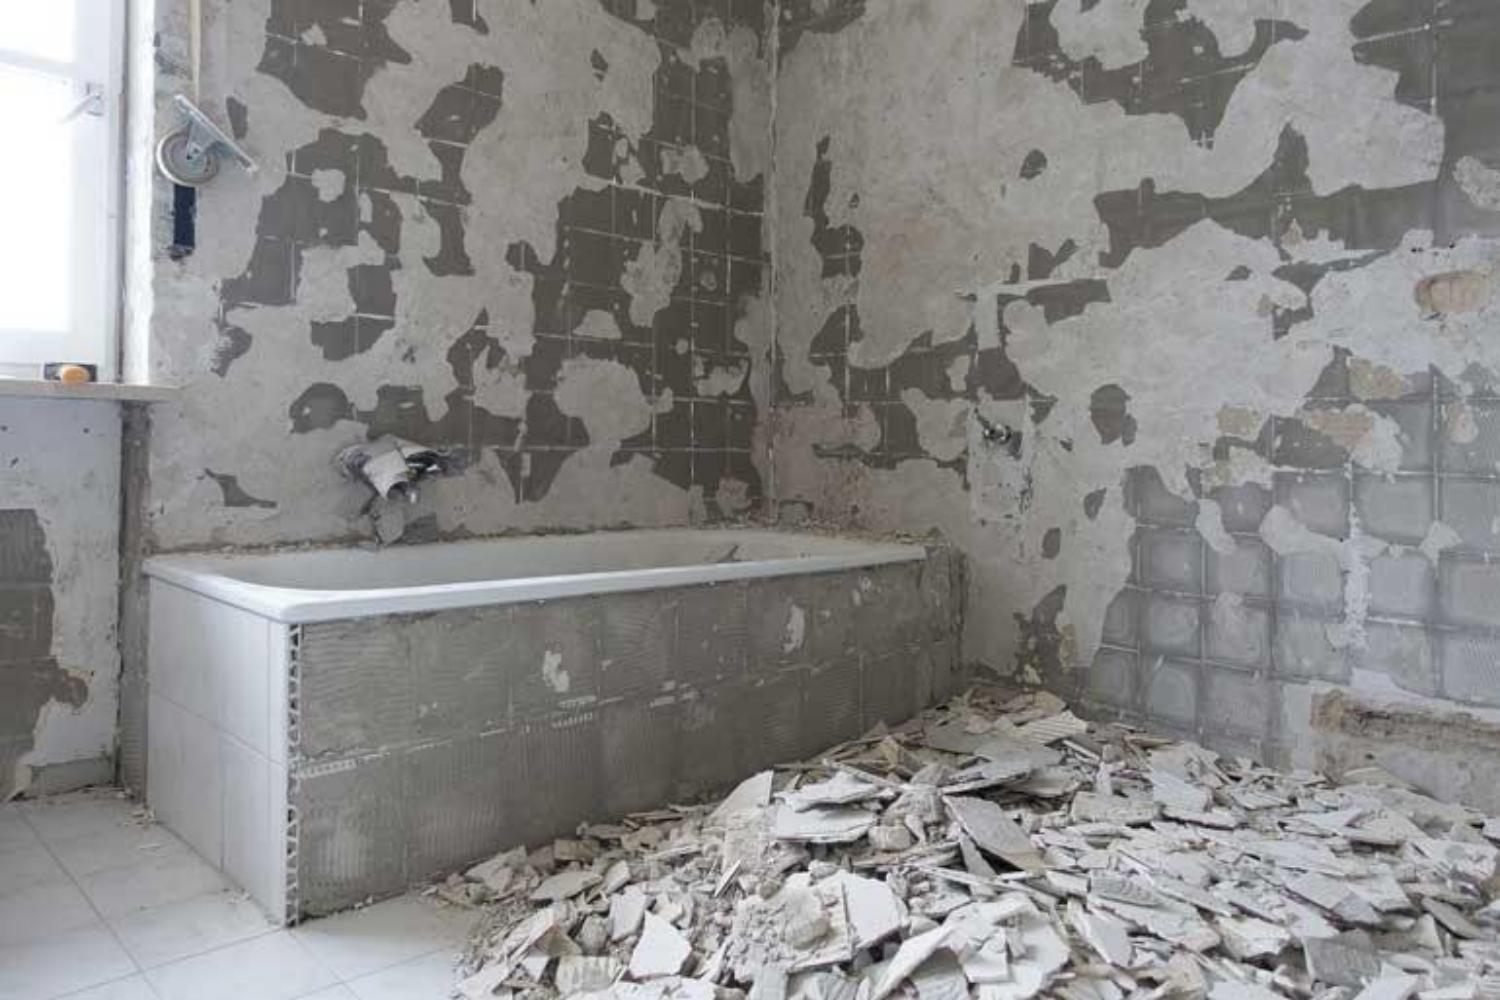
Remove all existing fixtures, including the sink, toilet, shower, and tiles. Take care to protect the underlying plumbing and electrical systems.
Dispose of Debris:
Properly dispose of the old fixtures, tiles, and any debris generated during demolition. Ensure safe disposal methods to comply with environmental regulations.

Step 3: Plumbing and Electrical Work
Inspect Plumbing and Electrical Systems:
How to diy bathroom Renovation? Assess the condition of your plumbing and electrical systems. Address any necessary repairs or upgrades before proceeding with your renovation.
Relocate Fixtures:
How to diy bathroom Renovation? If desired, relocate plumbing fixtures such as the sink, toilet, or shower. iVIGA’s range of fixtures includes options for different configurations.
Step 4: Wall and Floor Preparation
Repair and Smooth Surfaces:
Repair any damaged walls or floors, and ensure a smooth surface for tile installation. Proper preparation is key to achieving a professional finish.
Waterproofing:
Apply waterproofing membrane to walls and floors, especially in wet areas like the shower. This crucial step prevents water damage and mold growth.
Step 5: Tile Installation
Tile Selection:
Choose tiles that match your design plan. iVIGA’s bathroom fixtures come in various finishes, allowing you to coordinate with your chosen tiles seamlessly.
Start Tiling:
Begin tiling the walls and floors according to your design. Use spacers for even tile placement and ensure level lines for a polished look.
Grout and Seal:
After the tiles have set, apply grout and sealant to protect against moisture and stains. iVIGA’s bathroom accessories, like towel bars and soap dispensers, can complement your tile choice.
Step 6: Fixture Installation with iVIGA
Faucet and Sink:
Install your chosen iVIGA faucet and sink combination. iVIGA offers a wide range of faucet styles, from single-handle to widespread, ensuring you find the perfect match for your bathroom.
Showerhead and Bath Fixtures:
How to diy bathroom Renovation? Mount your iVIGA showerhead, shower system, and bath fixtures. Consider options like rainfall showerheads for a luxurious spa-like experience.
Toilet:
Install your new toilet, ensuring a secure and leak-free connection to the plumbing. iVIGA’s bathroom fixtures include contemporary toilet accessories for added convenience.
Step 7: Cabinetry and Vanity
Vanity Installation:
How to diy bathroom Renovation? Mount your chosen vanity cabinet and countertop. iVIGA’s bathroom accessories, such as towel rings and robe hooks, can enhance the functionality of your vanity area.
Mirror and Lighting:
Hang a stylish mirror and install adequate lighting above the vanity. iVIGA offers vanity lighting options that blend seamlessly with your bathroom decor.

Step 8: Final Touches
Flooring:
Complete the flooring installation, ensuring a smooth transition to the tiled areas. Consider iVIGA’s floor-mounted bathroom accessories for added convenience.
Paint and Finish:
How to diy bathroom Renovation? Apply the final coat of paint to walls and ceilings. Install any remaining accessories, such as towel bars and soap dispensers, to enhance your bathroom’s functionality.
Step 9: Inspection and Testing
Inspection:
Carefully inspect all installed fixtures and components to ensure they are properly aligned, secured, and free from defects.
Testing:
How to diy bathroom Renovation? Test all plumbing fixtures, drains, and electrical components for proper functionality. Look for leaks, and address any issues promptly.
Step 10: Clean-Up and Enjoy
Clean-Up:
Remove any construction debris and clean all surfaces thoroughly. Ensure that your renovated bathroom is spotless and ready for use.
Enjoy Your New Bathroom:
How to diy bathroom Renovation? With your iVIGA-equipped bathroom now complete, take a moment to enjoy the fruits of your labor. Revel in the comfort, style, and functionality of your renovated space.
Conclusion
How to diy bathroom Renovation? Embarking on a DIY bathroom renovation project can be a rewarding experience, especially when you have the support of a reputable brand like iVIGA. Their commitment to quality and innovation ensures that your bathroom makeover will stand the test of time, both in terms of aesthetics and functionality. Follow this step-by-step guide, and with iVIGA’s top-quality products, you’ll transform your bathroom into a stunning oasis that suits your style and needs.
 iVIGA Faucet Online Shop
